
CHARGER ORGANIZER
Materials -
-
Gluestick or Double-Sided Tape
-
Hammer
-
Large Grommets
-
Pencil
-
Scissors
-
Shoebox (with unattached box and lid)
-
Wrapping Paper
-
X-ACTO Knife
Instructions:
-
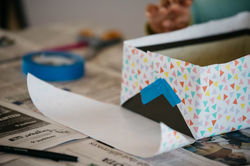
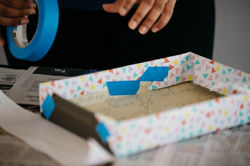
Wrap both the box and the lid with wrapping paper, scissors, and tape.
-
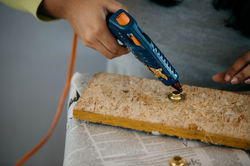
Use a pencil to trace the inside of a grommet onto the long side of the shoebox. Cut the circles with the X-ACTO knife.
-
Place a ring of hot glue around the insides of the grommets and insert them into the previously made holes.
-
Use the pencil again to free-hand a large opening (circle or square) that's big enough for your extension cord on one of the end sides.
-
Cut the outline with the X-ACTO knife.
-
Use the large opening on the end side for an extension cord and the holes with grommets on the long side for individual charger cords.
In today's technology-based society, everyone needs a charger, and it can be quite a pain when all your charger cords are tangled together. With an easy-to-make charger organizer, all your wires can stay in one place, tangle-free!
 |  |  |
|---|---|---|
 |  |  |
 |  |  |
 |  |  |
Price Range
$
Time Estimate
25 minutes
Suggested Retailers
Hammer -
Home Depot, Target
Large Grommets -
eBay, Walmart
Wrapping Paper -
Target, Walmart
X-ACTO Knife -
Jo-Ann Fabrics, Michaels
Project Inspiration
Try these projects next!


